Sunday, October 19, 2014

Coors Can Cake


It's my friend Shawn's birthday!  His finace' asked if I'd make him a birthday cake...of course I will!  Later, she asked if it could be beer-themed (Shawn works with me at the beer distributorship).  Challenge accepted!  After a bit of back and forth chit-chat, we decided that I would make a cake to look like a can of Coors beer.  Now, I've never done something like this...but I figure there's a first time for everything...right?!  Cross your fingers, because here we go!

 
After a bit of planning, I decided that my cake would be made by stacking to rectangular cakes and carving from there.  I started by baking two pumpkin spice cakes and letting them cool completely.  After cooling, I added a layer of buttercream to one cake and topped it with the second cake.  I didn't cut the top layer to a smooth straigh surface.  I figured that hump in the middle (caused by the cake rising during baking) would work in my favor as I tried to create a cylinder shape for the can.  I put the layered cakes in the freezer to harden a bit before trying my hand at cake carving for the very first time.

I spent a bit of time on Pinterest and found what looked to be a yummy recipe for making my own findant.  I've used store-bought fondant before, but it tastes terrible.  I was hoping to use something that would taste sweet and yummy, but would be pliable and easy to use like fondant.  My discovery:  Homemade fondant using marshmallows, powdered sugar and water.  This fondant is pretty simple to make, but definitely a bit of work (and a bit messy to make).  If you have the patience and the desire, I definitely suggest making your own fondant instead of buying it at the store...it tastes SO much better!  After getting my fondant to the perfect consistency, I separated and added coloring to get all of the colors I would need to make the Coors can.

Once my cake spent about an hour in the freezer, it was time to start carving. Although I'd been thinking about my plan for about a week, I really didn't have a clue what I was doing.  I just kept carving small pieces off the sides until I had what looked like a half cylinder shape.  (looking back, I could have probably made some sort of jelly-roll cake and simply cut it in half length-wise). 

Once I had my base, I covered the cake with a layer of buttercream, then started adding my fondant to build my cake.
 

Using a picture of a Coors can, I just layered the different pieces until I was happy with the way it looked.  I was pretty proud of myself for hand-cutting a pop tab at the top of the cake!  Once I was happy with the findant, I used my decorating bag and colored buttercream to add the words. 

At the cake shop, I'd discovered silver decorating powder. What a fun concept!  Simply mix the powder with a bit of vodka (the liquid evaporates quickly making it easy to use) and paint on some edible color.  This is what I used for the top and bottom of the can to look like aluminum.


All in all, I'm pretty happy with the way the cake turned out.  And Shawn liked it too!


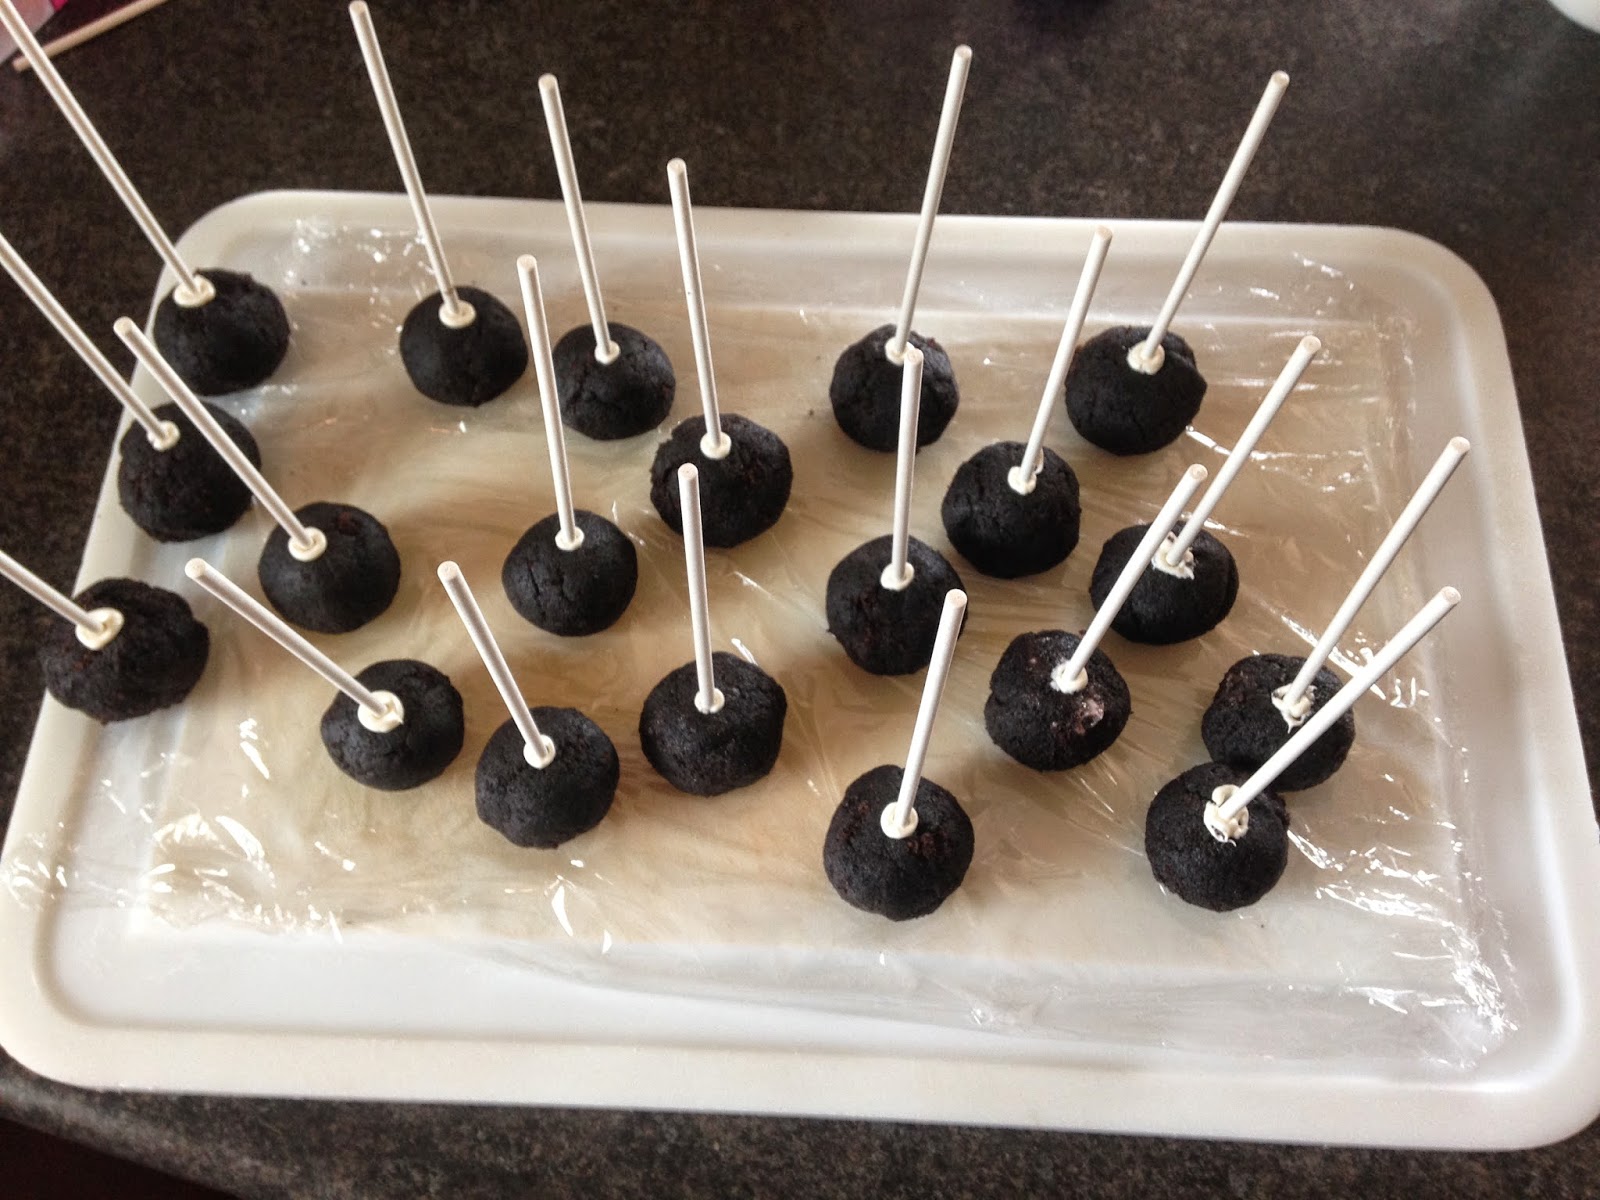
Bonus Note:  What did I do with all of the extra pieces of cake that I'd cut away during the carving section of my project?  Cake pops of course!

Monday, August 25, 2014

Neopolitan Cupcakes

I remember being so excited as a little girl when my parents would buy Neopolitan ice cream!  It was the perfect combination of three great flavors in one bowl of goodness.  It's been years since I've enjoyed this nostalgic treat, but I had some left over cake batters (chocolate, vanilla and strawberry) and suddenly found myself in a daydream about sitting down with a bowl of yummy goodness as a little girl.

What do you do with extra strawberry, chocolate and vanilla cake batter?  Neopolitan cupcakes of course!

I wasn't quite sure if what I saw in my head was going to work in the cupcake liner, but I was sure willing to give it a try.  I held one end of my pan at about a 45degree angle and dropped a spoon full of chocolate batter into the bottom corner, next a spoon full of vanilla in the middle, and finally a spoon full of strawberry at the top.  When I sat my pan back down on the counter, I was excited to see that the colors didn't mix into a brown pool of mud!  Instead, the colors stayed separate in three little sections inside my cupcake liner.  Might as well pop them in the oven and see what happens!

Here's what the batter looked like going into the oven


And here's what they looked like after cooking!

So excited that my little experiment worked, I wanted to be just as creative with my frosting.  I whipped up a batch of my favorite buttercream, then separated it into three bowls.  I left the first bowl as is-the original white buttercream that we love so much.  To the second bowl, I added some light pink coloring--thinking back, it might have been even more yummy if I'd have added strawberry flavoring to get a true strawberry frosting.  To the third bowl, I whipped in some dark chocolate cocoa powder to make a delicious chocolate buttercream.  Now the fun (not so fun) part...filling my pastry bag as full as possible while trying to keep the three colors of frosting separate.  I held my breath hoping for the best...and it worked!


All in all, I'm calling this little experiment a success!
Enjoy!

Friday, August 15, 2014

Doll Cakes


Doll Cakes 


 It's birthday party day! Three of my adorable nieces are celebrating their birthdays today, and I wanted to do something fun with their birthday cakes. After scouring the internet for fun ideas, I kept coming back to Barbie cake. I wanted to incorporate the idea in a mini version so that each birthday girl could have her very own cake.

A trip to my favorite baking supply store proved successful when I found this pack of four doll heads on picks. These would be the perfect size dolls for a single size cake. A few more supplies, and I was ready to go! Wilton also sells a pan specifically designed for these cakes, but I had another idea. My handy-dandy Pyrex measuring cup! This cup is the perfect size, and is already in my cupboard.


The baking begins. Because I only have one Pyrex measuring cup, I did have to bake my cakes one at a time. I filled the greased cup about 3/4 full of my favorite batter (each girl gets her own favorite flavor) and baked for 30-35 minutes in a 350 degree oven until a fully cooked.  Pop the cake out of the cup and cool completely on a wire rack. Once cooled, I trimmed just a bit to taper what would be the top of the skirt, then added a thin crumb coat of buttercream frosting.


Once the crumb coat was set, it was time for the fun of decorating. I used a few different tips and techniques I'd picked up from the internet, and basically free-styled my decorating until each doll had a cute dress for the party.


Happy Birthday to my wonderful nieces, Anneli, Emma and Ashlynn :)

Check out my Neopolitan Cupcakes entry to see what I did with the extra batters!


Sunday, August 3, 2014

Cake Pops!

I wanted to spend a little time in my kitchen today, but wasn't sure exactly what I wanted to create.  I thought of the 15 or so left over brownie cupcakes in my freezer from a couple of weeks back and the little container of extra raspberry buttercream frosting in my refrigerator that I'd kept "just in case" when I made my raspberry lemonade cupcakes earlier this week.  Two thoughts immediately came to my mind. 

First, I asked myself "what exactly are 'left-over' cupcakes?"  I mean, if a cupcake is this good, how could there possibly be leftovers, right?  Let me clarify.  These cupcakes are only left over becuase I'd made an extra large batch and my handy-dandy cupcake holder only carries 24 at a time.  So I'd popped the extras in the freezer for another day...hence "left-over".    Now all I can think is that I might need to find myself a larger cupcake carrier!

My second thought was Cake Pops!  I've seen them all over Pinterest, and they're the perfect bite size treat for a lazy Sunday.  Doing a quick scan of my baking cupboards, I found left over candy sticks, a bag of candy melts I'd bought but never used, and some colored sprinkles.  I'm all set without having to make a trip to the store or even turn on my oven...Perfect!


Once I'd let the cupcakes thaw, I unwrapped them and crumbled them into a bowl.  Next, I added a scoop of the raspberry buttercream and the fun began!  Using my hands (I couldn't find a tool that worked better), I squished and squeezed the crumbs and frosting until I had the perfect consistency.  (add frosting a little bit at a time until your mixture holds together without being sticky).  I rolled my mixture into balls about 1-1/2inches in diameter.

Next, I placed four of the candy melt disks in a coffee mug and microwaved for 30-40 seconds until I was able to stir it smooth.  I coated the end of the stick into the melted candy, then pushed carefully into the cake ball (about 3/4 of the way through).  I repeated this until each cake ball had a stick standing in it. I placed the tray of cake balls in my freezer to firm up a bit.  (about 10 minutes).


Now that the sticks are firmly set, it's time to decorate my cake pops.  More candy melts into my coffee mug and back in the microwave (nuke 15-20 seconds at a time stirring in between until all candys are melted smooth).  Dip the cake pop into the candy then add sprinkles right away (before the candy sets).  Stand up to set firmly.  This little bouquet of treats is ready to go!


Note for next time:  Because my cake was dark in color, I had to double dip my pops so that the dark didn't show through the light candy. Because of this, the pops didn't finish as smooth as I'd have liked.  Next time, I'd probably either use a lighter cake, or a darker candy coating.

Wednesday, July 30, 2014

Raspberry Lemonade Cupcakes with Raspberry Buttercream Frosting

We're having such gorgeous weather this week!  I absolutely love summer and all that comes with it!  One of my favorite simple summer drinks is raspberry lemonade.  It's super-refreshing and makes me think of picnics and lazy days in the sun.  I thought I'd re-create this favorite of mine in cupcake form with a raspberry lemonade cupcake!

I started with a simple lemon cake recipe for my cupcakes, then piped in some raspberry filling.  I used my favorite buttercream frosting recipe, and simply added some more of that yummy filling to the frosting for some extra raspberry goodness.


Lemon Cupcakes (recipe compliments of allrecipes.com)
3 cups self-rising flour
1/2 tsp salt
1 cup unsalted butter, room temp
2 cups white sugar
4 eggs, room temp
1 tsp vanilla extract
2 Tbsp lemon zest
1 cup whole milk, divided
2 1/2 Tbsp lemon juice, divided

Preheat oven to 375 degrees F.
Line 30 cupcake pan cups with paper liners.

Sift the self-rising flour and salt together in a bowl. In another bowl, beat the unsalted butter and sugar with an electric mixer until light and fluffy. Beat in the eggs one at a time, beating each egg until incorporated before adding the next. Mix in the vanilla extract and lemon zest.

Gently beat the flour mixture into the butter mixture, one third at a time, alternating with half the milk and half the lemon juice after each of the first 2 additions of flour. Beat until just combined; do not over mix.

Fill the prepared cupcake liners with batter 3/4 full, and bake in the preheated oven until a toothpick inserted in the center comes out clean, about 17 minutes. Let the cupcakes cool in the pans for about 10 minutes before removing them to finish cooling on a rack.

I added some yummy raspberry pastry filling that I picked up from my favorite baking supply shop **shout out to Vanilla Bean in Madison, Wisconsin**


Next, I made the raspberry buttercream frosting by simply adding some of that filling to my favorite buttercream recipe

Raspberry Buttercream Frosting
1 cup unsalted butter, room temperature
1 tsp vanilla
1Tbsp milk
2-3 Tbsp raspberry pastry filling
4 cups powdered sugar

Cream butter, add vanilla and raspberry filling.  Gradually add sugar one cup at a time, beating well on medium speed.  Add milk & beat at medium speed until light and fluffy.

I topped my cupcakes with a bit of lemon zest.  YUM!

Wednesday, July 23, 2014

Brownie Cupcakes

Who doesn't love a rich chocolaty cupcake? This cupcake is the perfect combination of cake and brownie mixed into one single-serve treat!  Topped with a cloud of sweet vanilla fluff that will make anyone smile, these cupcakes are sure to please!


Brownie Cupcakes
2 cups boiling water
1 cup unsweetened cocoa powder
2 3/4 cups all-purpose flour
2 teaspoons baking soda
1/2 teaspoon baking powder
1/2 teaspoon salt
1 cup butter, softened
2 1/4 cups sugar
4 eggs
1 1/2 teaspoons vanilla extract

Preheat over 350 degrees.  Line your muffin tins with cupcake liners

In a medium bowl, pour boiling water over cocoa powder, whisk until smooth.  Let mixture cool.  Sift together flour, baking soda, baking powder and salt; set aside.

In a large bowl, cream butter and sugar together until light and fluffy.  Beat in eggs one at a time, then stir in vanilla.  Add the flour mixture alternately with the cocoa mixture. 

Fill cups about 2/3 full
Bake in preheated oven about 21 -23 minutes.  Allow to cool.  Pipe with fluffy vanilla frosting.

 
People are loving this frosting.  So much so, that I thought I should share the recipe!

Fluffy Vanilla Frosting
2/3 cup sugar
2 large egg whites
1 1/2 cup salted butter (yes, THREE sticks of butter) room temperature, cut into 2inch chunks
1 2/3 cup powdered sugar
2 Tbsp milk
1 Tbsp vanilla

In a heat proof bowl, whisk granulated sugar and egg whites together. Place over a pot of simmering water and continue to whisk for 3-5 minutes, until mixture is hot to the touch and thinned.
 
Remove from heat and pour into the bowl of a mixer. Beat on medium high with the whisk attachment for about 7 minutes, until it forms a white meringue that is cool to the touch. Reduce mixer speed to low and slowly add the butter. Beat another 5 minutes or so until the butter is completely incorporated.
 
Add the powdered sugar, milk, and vanilla. Beat on medium speed until the mixture is satiny.
 
Pipe onto cupcakes and enjoy!!


About the Busy Baker Lady

I'm not a professional baker by any means!  I'm a busy business lady who has found baking sweets and treats for family and friends to be a great source of relaxation in my crazy little world!  As far back as I can remember, I've loved to bake treats.  I get so much happiness out of the smiles that come from a bite into one of my creations.  There really is so much joy in making someone happy!